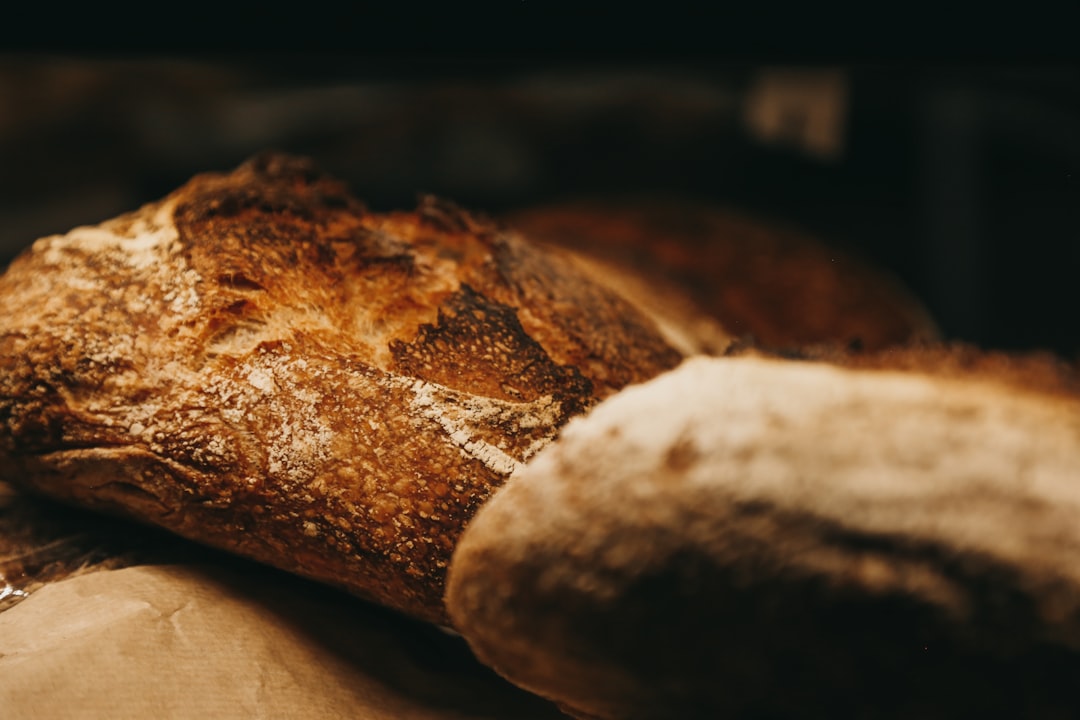
Have you ever eagerly anticipated the perfect loaf of bread fresh from your bread machine, only to be met with disappointment? Maybe your latest creation collapsed like a deflated balloon or took on the shape of a mushroom. Don't worry; you're not alone. Many bread - machine enthusiasts encounter various issues during the baking process. In this guide, we'll explore some of the most common problems and how to solve them.
One of the most frequent issues is a collapsed loaf. There could be several reasons for this. First, the yeast might be old or inactive. Yeast is the leavening agent that makes the bread rise. If it's past its expiration date or has been stored improperly, it won't work effectively. To check if your yeast is alive, you can do a simple test. Mix a teaspoon of yeast with a tablespoon of sugar and half a cup of warm water. If it starts to foam within 10 - 15 minutes, the yeast is good to go. If not, it's time to get a new batch.
Another culprit could be the flour. Different types of flour have different protein contents, which affect the bread's structure. For a good - rising loaf, bread flour is usually the best choice as it has a higher protein content than all - purpose flour. Using the wrong type of flour or not measuring it accurately can lead to a collapsed loaf. Make sure to follow the recipe precisely and use a kitchen scale for accurate measurements.
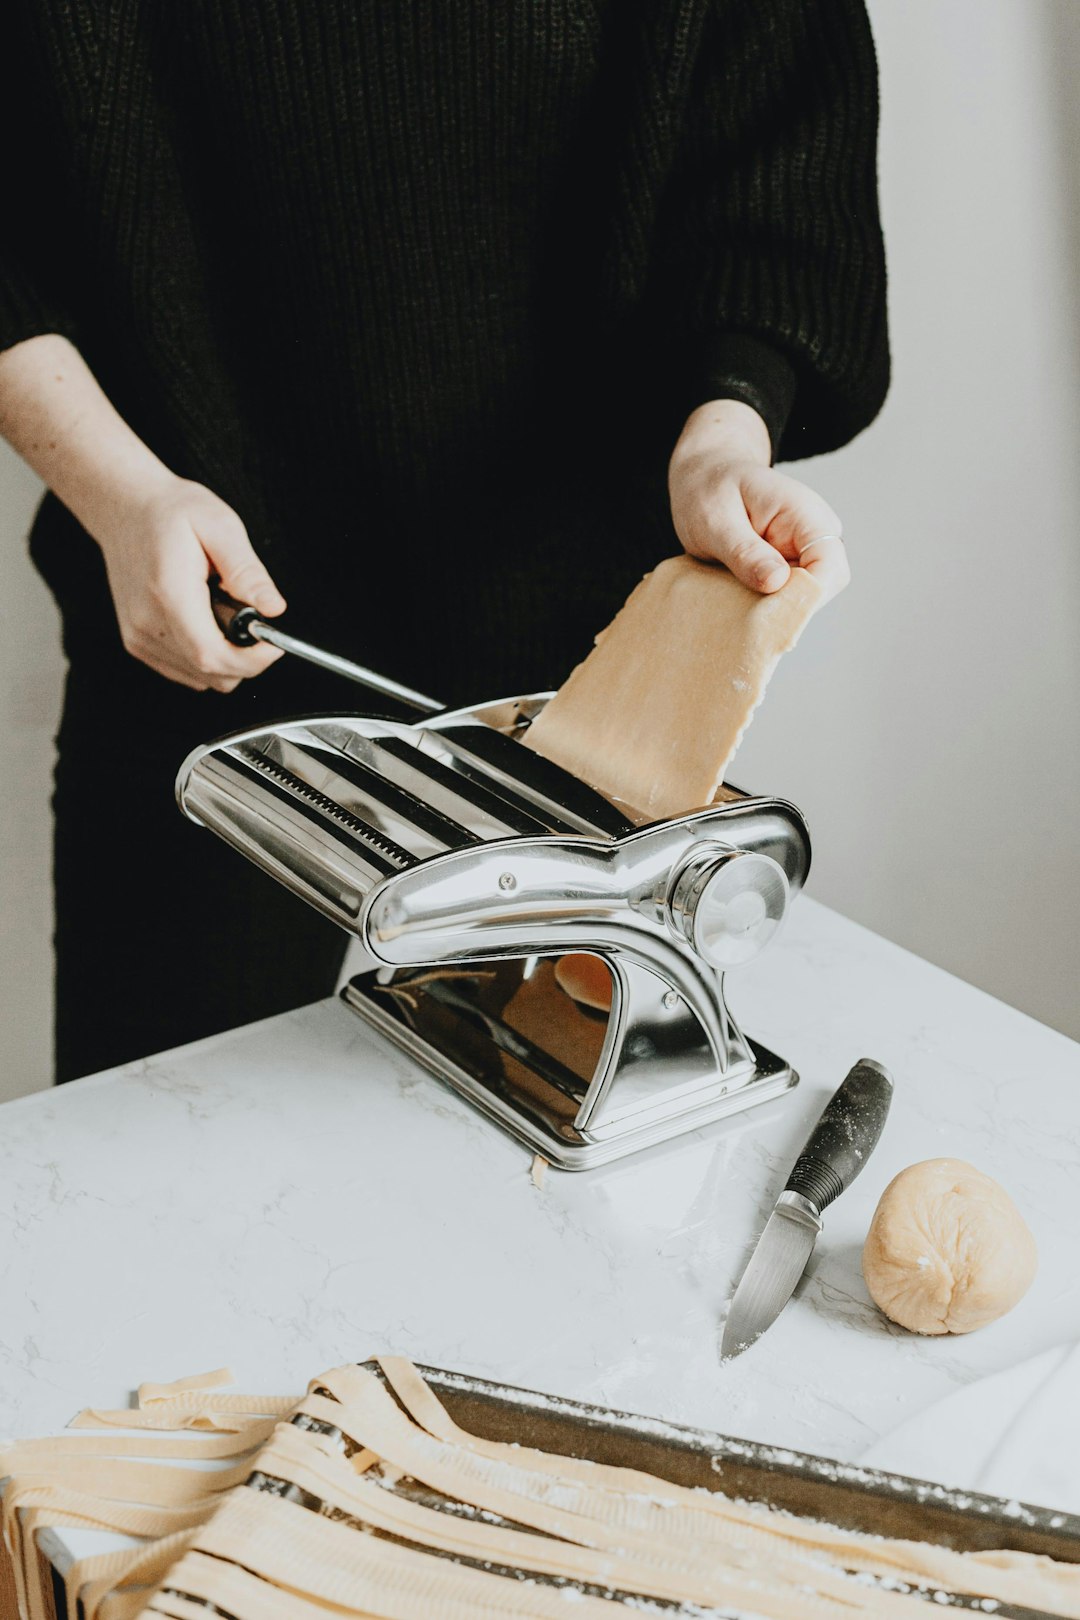
Over - kneading or under - kneading the dough can also cause problems. If the dough is over - kneaded, the gluten structure can break down, resulting in a flat loaf. On the other hand, under - kneaded dough won't develop enough gluten to hold its shape. Most bread machines have specific kneading cycles, but it's still important to keep an eye on the dough. You can do a simple windowpane test. Take a small piece of dough and stretch it gently. If it tears easily, the dough needs more kneading. If it can form a thin, translucent membrane without tearing, it's ready.
Now, let's talk about the mushroom - shaped loaf. This often happens when the bread rises too quickly at the beginning. The top of the loaf expands faster than the bottom, causing it to bulge and take on a mushroom - like appearance. To prevent this, you can adjust the temperature settings on your bread machine. Lowering the initial rising temperature can slow down the rising process and help the loaf develop a more even shape.
Another factor could be the amount of liquid in the dough. Too much liquid can make the dough too soft and cause it to spread out unevenly during baking. Make sure to measure the liquids accurately and adjust the amount based on the type of flour you're using. For example, whole - wheat flour absorbs more liquid than white flour.
It's also important to consider the baking time and temperature. If the bread machine is set to a too - high temperature, the outside of the loaf can cook too quickly while the inside remains undercooked. This can lead to a hard crust and a gummy center. Refer to the recipe and the bread machine's manual for the recommended baking time and temperature settings.
To make it easier for you to troubleshoot these issues in the future, we've created a comprehensive bread machine troubleshooting guide. You can print it out and keep it handy in your kitchen. This guide covers all the common problems, their causes, and step - by - step solutions. With this guide, you'll be well - on your way to becoming a master bread - machine baker.
In conclusion, baking bread in a bread machine can be a rewarding experience, but it does come with its challenges. By understanding the common issues and how to solve them, you can enjoy delicious, perfectly - shaped loaves of bread every time. So, don't let a few setbacks discourage you. Keep experimenting, and soon you'll be creating bakery - quality bread right in your own home.