Embarking on the journey of baking bread at home is a rewarding endeavor that combines art and science. From the right pans to the best oven rack position, every detail matters in creating the perfect loaf. In this guide, we'll explore the essential tools, tips, and skills you need to make any kind of bread in the comfort of your own kitchen.
First and foremost, let's talk about the tools. Having the right equipment can make a world of difference in your bread - baking experience. A good quality mixing bowl is a must - have. Stainless steel or ceramic bowls are great options as they are durable and easy to clean. You'll also need a wooden spoon or a dough scraper for mixing and kneading the dough. A digital kitchen scale is another invaluable tool. Measuring ingredients by weight ensures accuracy, which is crucial for consistent results in bread - making. For shaping the dough, a bench scraper can help you divide and transfer the dough neatly.
When it comes to pans, there are several choices depending on the type of bread you want to make. For a classic loaf, a standard loaf pan is ideal. Look for pans with non - stick coatings to make it easier to remove the bread once it's baked. If you're making rolls or buns, muffin tins or baking sheets can be used. Baking stones are also a great addition to your bread - baking arsenal. They help to mimic the conditions of a professional bakery oven, resulting in a crustier loaf.
Now, let's move on to the ingredients. Flour is the foundation of bread. Different types of flour, such as all - purpose flour, bread flour, and whole wheat flour, can be used depending on the desired texture and flavor of the bread. Yeast is the leavening agent that makes the bread rise. There are two main types: active dry yeast and instant yeast. Active dry yeast needs to be activated in warm water before use, while instant yeast can be added directly to the dry ingredients. Salt is not just for flavor; it also helps to control the yeast activity and strengthen the gluten in the dough. Sugar provides food for the yeast and adds a touch of sweetness to the bread.
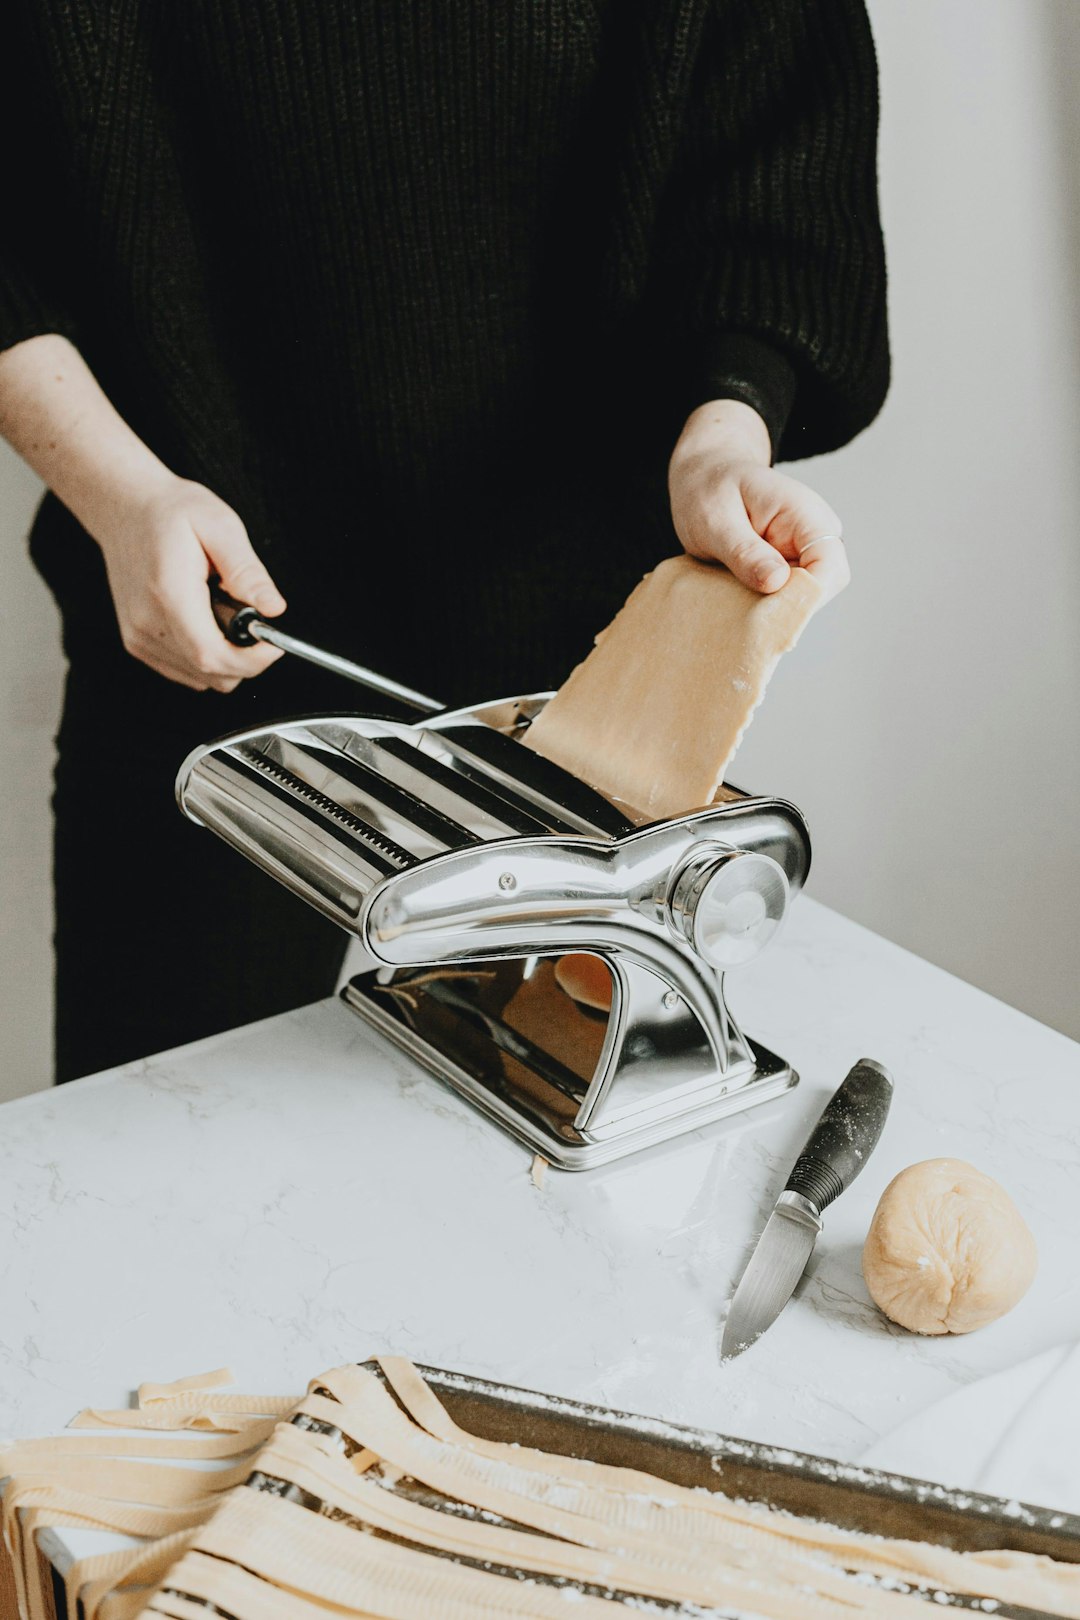
Mixing and kneading the dough is a critical step. Start by combining the dry ingredients in a large bowl. Then, add the wet ingredients gradually, stirring until a shaggy dough forms. Kneading the dough helps to develop the gluten, which gives the bread its structure. You can knead the dough by hand on a floured surface or use a stand mixer with a dough hook attachment. Knead the dough for about 10 - 15 minutes until it becomes smooth and elastic.
After kneading, the dough needs to rise. Place the dough in a greased bowl, cover it with a damp cloth, and let it rise in a warm place for about an hour or until it doubles in size. This is called the first rise. Once the dough has risen, punch it down to release the air bubbles and shape it into the desired form. Then, let it rise again for another 30 - 45 minutes.
Now, it's time to talk about the oven. Preheating the oven is essential. Set the oven to the appropriate temperature according to your recipe. The best oven rack position for baking bread is usually in the middle. This ensures even heat distribution and helps the bread to bake evenly. You can also add a pan of water to the bottom of the oven to create steam, which will give the bread a crispy crust.
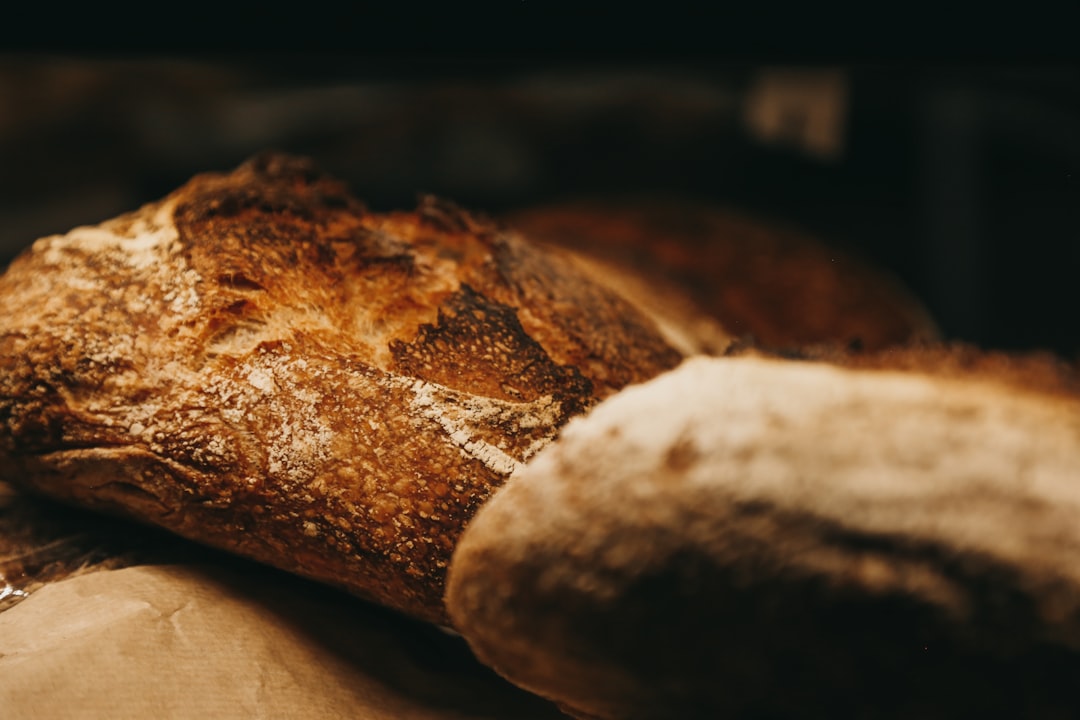
Baking times can vary depending on the size and type of bread. A small loaf may take about 25 - 30 minutes, while a larger loaf could take 35 - 45 minutes. To check if the bread is done, tap the bottom of the loaf. If it sounds hollow, it's ready. Let the bread cool on a wire rack for at least 10 - 15 minutes before slicing to allow the flavors to develop and the bread to set.
With these tools, tips, and skills, you're well on your way to becoming a master bread baker. Whether you're making a simple white loaf, a hearty whole wheat bread, or a delicious artisanal sourdough, the key is to practice and have fun. So, roll up your sleeves, gather your ingredients, and start baking!