Blanching vegetables is a culinary technique that has been around for ages, yet its importance cannot be overstated. It is a simple process that involves briefly immersing vegetables in boiling water and then immediately plunging them into ice - cold water. This seemingly straightforward method offers numerous benefits, especially when it comes to preserving the vibrant color, texture, and nutritional value of vegetables.
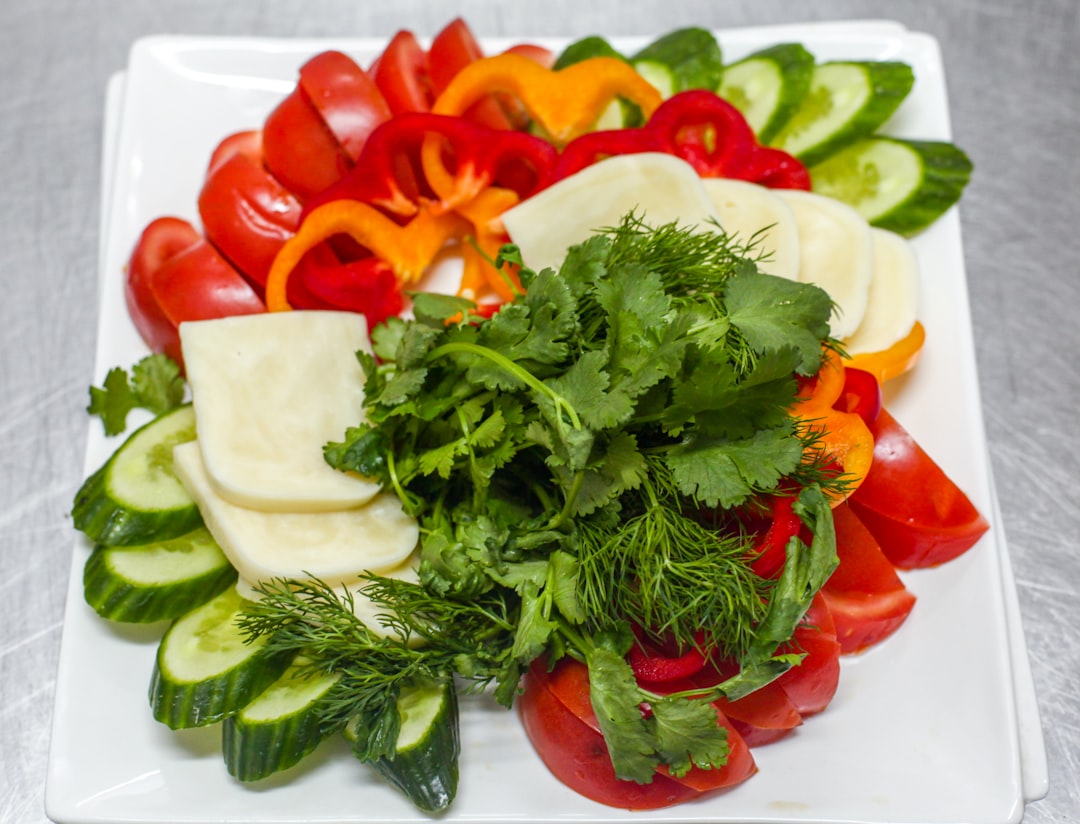
One of the primary reasons to blanch vegetables is to maintain their bright colors. When vegetables are exposed to heat during cooking, enzymes within them can cause discoloration. Blanching quickly deactivates these enzymes, locking in the vivid hues that make vegetables so appealing on the plate. For example, green beans that are properly blanched retain their beautiful emerald color, making them not only more visually appealing but also more appetizing.
Texture is another crucial aspect that blanching helps to control. By briefly cooking the vegetables in boiling water, the cell walls break down slightly, making the vegetables tender but still crisp. This is particularly important when you plan to freeze vegetables. If you freeze un - blanched vegetables, the enzymes can continue to break down the cell structure over time, resulting in a mushy texture when thawed. Blanching stops this enzymatic activity, ensuring that the vegetables maintain their firmness and crunch even after being frozen and then cooked again.
Now, let's delve into the step - by - step process of blanching vegetables. First, you need to prepare your vegetables. Wash them thoroughly under running water to remove any dirt or debris. Trim off any tough ends or damaged parts. For larger vegetables, you may want to cut them into smaller, uniform pieces. This ensures that they cook evenly during the blanching process.
Next, bring a large pot of water to a rolling boil. The amount of water should be sufficient to fully submerge the vegetables. You can add a little salt to the water to enhance the flavor of the vegetables. Once the water is boiling, carefully add the vegetables to the pot. The cooking time will vary depending on the type of vegetable. For example, leafy greens like spinach may only need 30 seconds to 1 minute of blanching, while denser vegetables like carrots or broccoli may require 2 - 3 minutes.
As soon as the vegetables have reached the appropriate blanching time, use a slotted spoon or tongs to remove them from the boiling water and immediately transfer them to a bowl of ice - cold water. This rapid cooling, known as shocking, stops the cooking process and helps to set the color and texture of the vegetables. Leave the vegetables in the ice water for at least the same amount of time as they were in the boiling water.
After shocking, drain the vegetables well. You can pat them dry with a clean kitchen towel or paper towels. At this point, your blanched vegetables are ready to be used in your favorite dishes. They can be added to stir - fries, salads, soups, or casseroles. If you're not going to use them right away, you can store them in the refrigerator for a few days or freeze them for longer - term storage.
When it comes to freezing blanched vegetables, it's important to package them properly. Place the vegetables in air - tight freezer bags or containers, removing as much air as possible. Label the packages with the name of the vegetable and the date of freezing. This will help you keep track of your frozen vegetables and ensure that you use them within a reasonable time frame.
In conclusion, knowing how to blanch vegetables is a valuable skill in the kitchen. It not only helps you preserve the quality of your vegetables but also opens up a world of culinary possibilities. Whether you're a novice cook or an experienced chef, mastering the art of blanching will elevate your dishes to a whole new level.