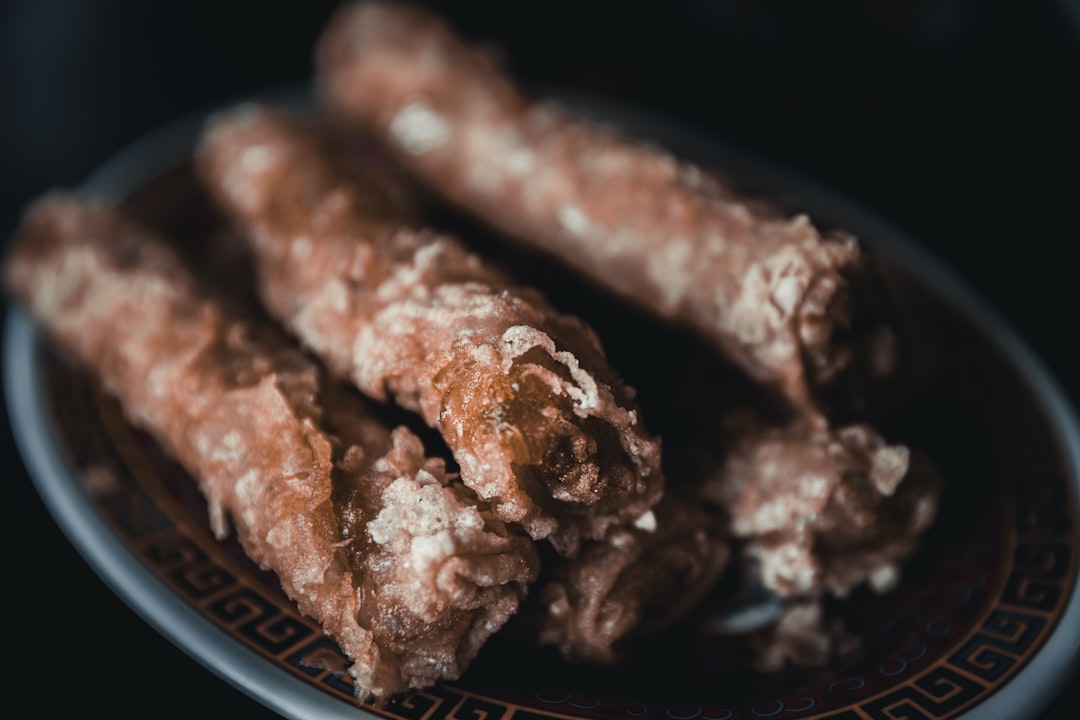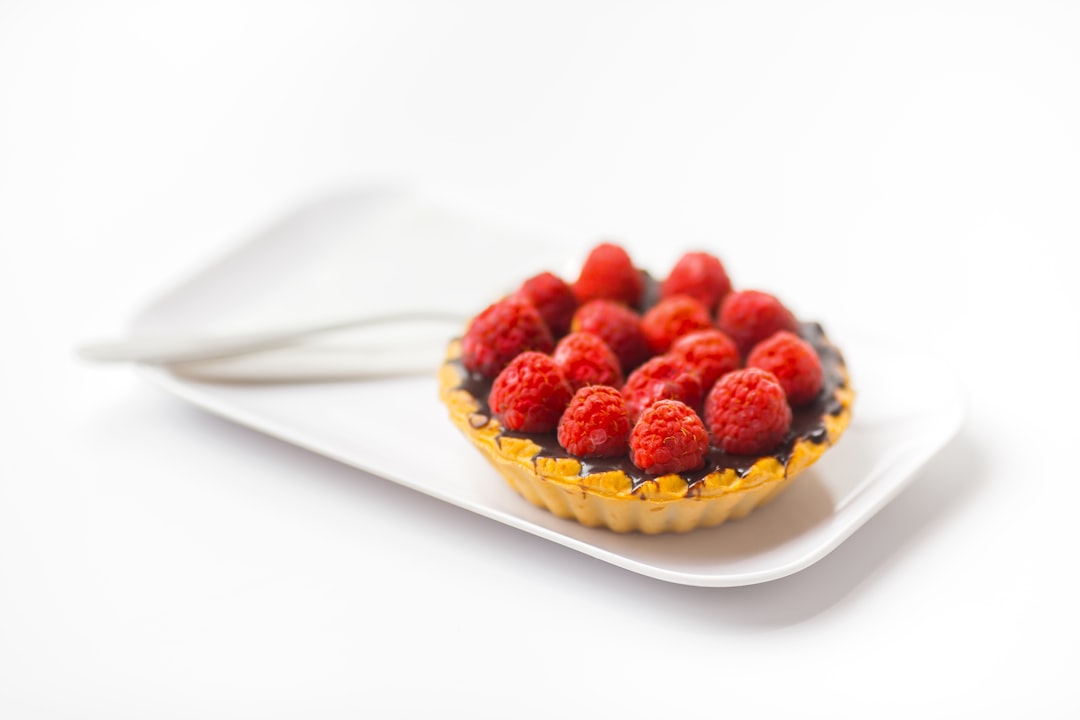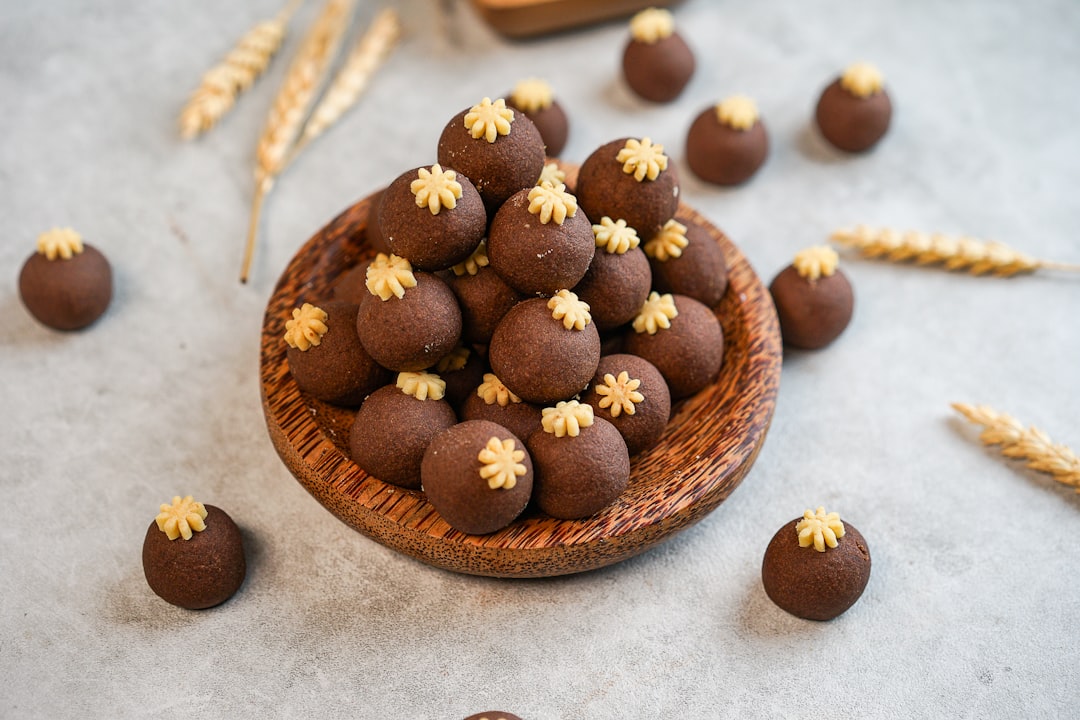
In the world of desserts and baking, there's a delightful alternative that allows you to skip the heat of the oven and still create mouth - watering treats. These no - bake bars are a game - changer, especially when you're looking for a quick and easy dessert solution. All you need is a stove top to melt the chocolate and a bit of patience for the pudding to set up.
Let's start by exploring the ingredients that make these no - bake bars so special. First and foremost, high - quality chocolate is a must. Whether it's dark, milk, or white chocolate, the rich and creamy flavor it brings to the bars is unparalleled. You can choose chocolate chips or a block of chocolate, depending on your preference and what you have on hand. Along with the chocolate, you'll need some butter. Butter not only helps in melting the chocolate smoothly but also adds a luxurious and rich texture to the bars.
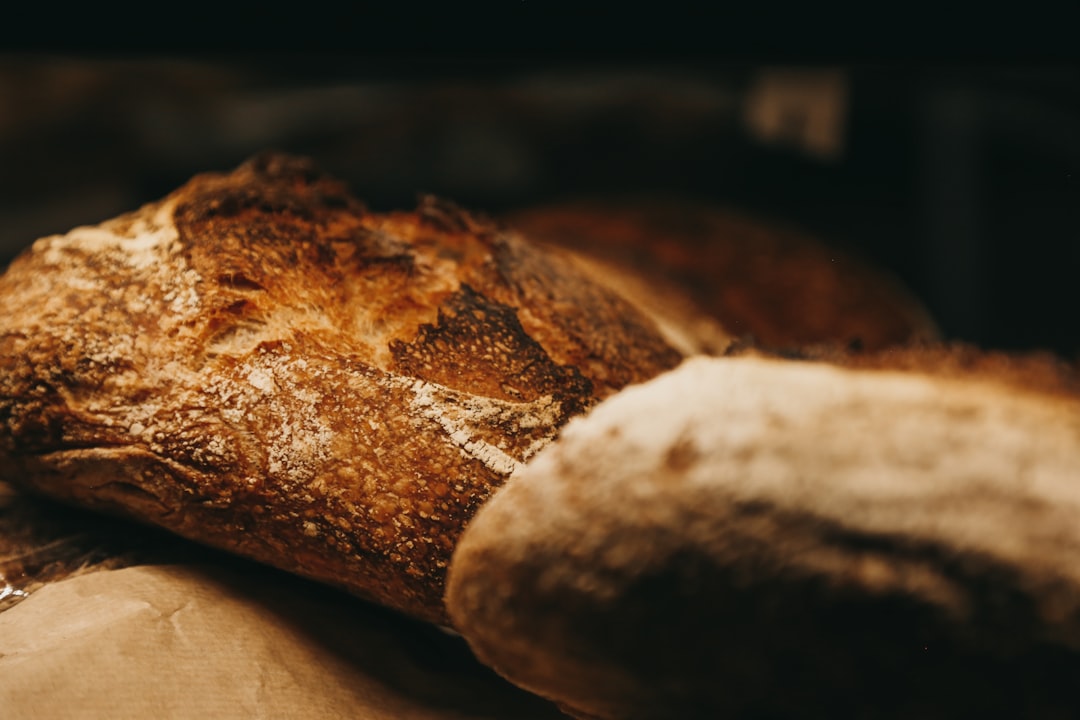
Another key ingredient is graham crackers. These provide a wonderful crunch and a slightly sweet base for the bars. You can either crush them by hand in a plastic bag using a rolling pin or use a food processor for a more consistent texture. The crushed graham crackers are then mixed with the melted chocolate - butter combination to form the bottom layer of the bars.
Now, let's talk about the pudding. Pudding is the star of these no - bake bars. It comes in a variety of flavors such as vanilla, chocolate, and butterscotch. You can choose your favorite flavor or even experiment with different combinations. To make the pudding, you'll typically need milk and the pudding mix. Simply whisk them together on the stove top until the pudding thickens. The heat from the stove is just enough to activate the pudding mix and create a smooth and creamy consistency.
Once the pudding is ready, it's time to layer it on top of the chocolate - graham cracker base. Spread it evenly to ensure that every bite of the bar has a generous amount of pudding. After that, you can get creative with the toppings. Chopped nuts like almonds, walnuts, or pecans add a nice crunch and a nutty flavor. You can also sprinkle some shredded coconut for a tropical touch or add a drizzle of caramel or fudge sauce for an extra indulgent treat.
After adding the toppings, it's time to let the bars chill. Place them in the refrigerator for a few hours or until the pudding has set completely. This chilling time is crucial as it allows the bars to hold their shape and develop a firm texture. You can check if the bars are ready by gently pressing on the top. If it holds its shape, then they're good to go.
One of the great things about these no - bake bars is their versatility. You can customize them according to your taste and the occasion. For a more festive look, you can add colored sprinkles or edible glitter during the holiday season. If you're making them for a kids' party, you can cut them into fun shapes using cookie cutters.
These no - bake bars are also a great option for those who are new to baking. Since you don't have to deal with the complexities of an oven, such as pre - heating and temperature control, it's a stress - free way to create a delicious dessert. They're also perfect for hot summer days when you don't want to heat up your kitchen with the oven.
When it comes to storing these bars, keep them in an airtight container in the refrigerator. They can last for several days, but chances are they won't last that long as they're so delicious. You can also freeze them for longer storage. Just make sure to thaw them in the refrigerator before serving.
In conclusion, these no - bake bars are a wonderful addition to your dessert repertoire. They're easy to make, require minimal equipment, and offer endless possibilities for customization. So, the next time you're in the mood for a sweet treat, give these no - bake bars a try and give your oven a well - deserved break.